
Quick answer
How do you survive a full run?
Win the opening before trying to win the ending. During evacuation, load the lifeboat with several ways to solve problems: food, a fishing option, a light source, repair or utility gear, and one flexible event counter. One rare object is less valuable than a boat that can survive hunger, damage, and darkness.
After launch, use a three-question loop each morning: what can kill the run tonight, which action reduces that risk, and how much energy must remain before you end the day? Fish or secure food before hunger becomes urgent, protect the boat before damage compounds, and avoid spending the final action on curiosity when a basic need is unresolved.
Public store descriptions confirm randomized scavenging and events plus three possible shipmates. That means no honest walkthrough can promise the same event on the same day. The route below gives priorities and stop rules that remain useful when the event order changes.
Route at a glance
Days 1-10 walkthrough plan
Treat the day ranges as checkpoints, not guaranteed event dates. Move to the next phase only when its survival condition is stable.
| Phase | Primary objective | Safe stop rule |
|---|---|---|
| Evacuation | Build a balanced inventory and choose one companion | Leave with food plus at least two different problem-solving categories |
| Days 1-3 | Stabilize food, energy, and boat condition | Do not end a day with two urgent needs |
| Days 4-6 | Create reserves and learn event counters | Keep one flexible item instead of consuming everything for progress |
| Days 7-10 | Preserve rescue tools and avoid greedy actions | Choose survival consistency over optional discoveries |
| Rescue or route finish | Use the signal or condition your run supports | Record the ending variables before starting another route |
Phase 1
Ship evacuation: build coverage, not a perfect inventory
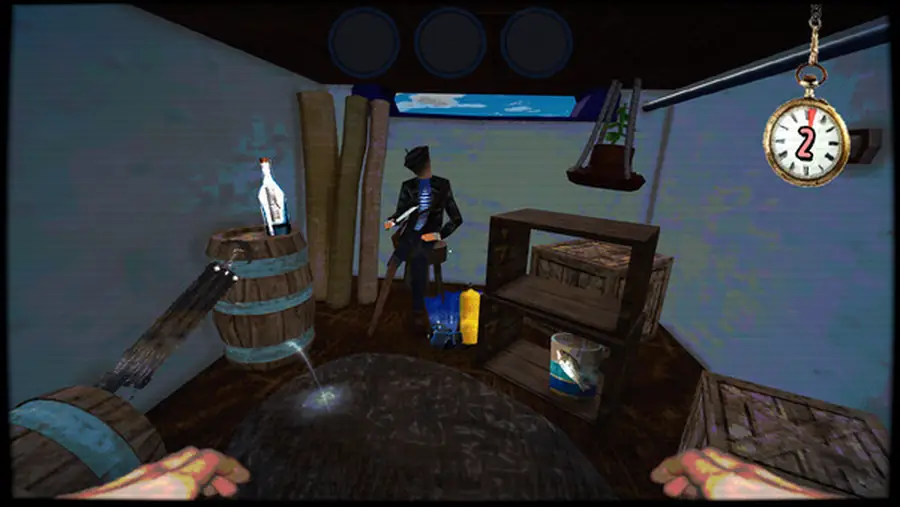
The opening timer rewards a route through useful clusters, not a complete search of every room. Identify the lifeboat early, then collect items that cover different failure types. Food buys time. Fishing support creates renewable food. A bucket or repair-oriented tool may protect the boat. A flashlight or similar utility can answer darkness. A flare or signal item may matter later, so avoid spending it without a clear reason.
Do not let an unfamiliar curiosity displace the last food source or your only practical tool. Story objects can matter, but they are route-specific. On a first clear attempt, general coverage has a higher expected value. If the timer is nearly gone, return to the boat rather than gambling the entire run on one extra room.
The lifeboat has room for one additional person, and the official Steam description confirms three possible shipmates. Pick one deliberately and keep notes. Changing both the companion and several major items between attempts makes it impossible to learn which variable affected the outcome.
Phase 2
Days 1-3: establish a repeatable morning routine
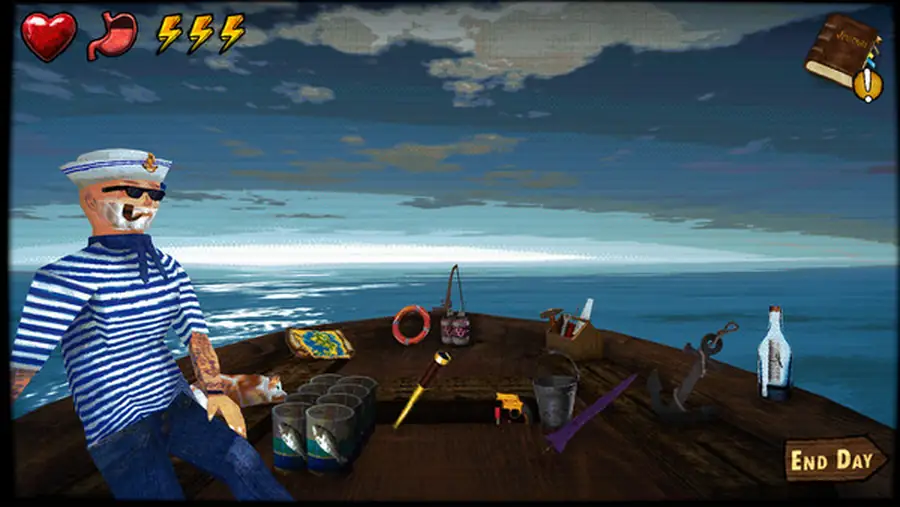
Start each day with an inventory and status check. Count immediate food, renewable food options, boat-protection tools, light or night counters, and energy. Then select one primary task. A day that tries to fish, explore, repair, talk, and experiment at once often ends with no reserve for the event that actually matters.
Food is a schedule, not a panic button. If fishing is available, use it while you still have enough energy to recover from a poor result. If the boat is taking damage, deal with that before optional dialogue. A companion can add value, but also creates another need to monitor; do not assume a social action replaces feeding or basic maintenance.
Use the end-of-day button only after a deliberate stop check: everyone can survive the food cycle, the boat is not at an obvious breaking point, at least one useful response remains in inventory, and spending more energy would create more risk than value. This simple pause prevents many early deaths.
Phase 3
Days 4-10: turn a surviving run into a rescue attempt
Mid-run priorities change from acquiring anything useful to protecting scarce categories. If you already have stable food, another food item may be less important than a repair answer or signal tool. If the boat is stable, reserve the repair item for the first clear warning rather than using it automatically. Build redundancy only where failure would end the run immediately.
Random events make memory unreliable. Keep a short note with the event prompt, the item or choice used, the visible result, and whether another variable changed. Mark guesses as guesses. Community pages can suggest counters, but reproduce a result before treating it as a condition. Controlled notes are especially valuable when an apparently good choice has a delayed cost.
In the late phase, greed is the main danger. Do not spend the only signal item, empty the food reserve, or consume every flexible tool just because the current day is calm. Rescue-focused runs should preserve plausible signaling options and enough food to survive a delay. Ending-focused experiments belong in a separate attempt after you have a stable baseline.
Night events
How to handle a night event without guessing away the run
Read the prompt literally before selecting an item. Ask whether the threat is darkness, impact, water, hunger, a creature, or a social choice. Match the tool category to the problem rather than clicking the rarest object. If two responses seem plausible, prefer the one that preserves the resource needed for a known survival system.
A failed counter is still useful evidence when you record it. Note whether the game rejected the item immediately, applied damage, changed a companion state, or produced a delayed consequence. On the next attempt, change one response rather than rebuilding the entire route. This converts random-looking nights into a testable matrix.
Do not claim a universal counter from a single run. Updates, hidden state, companion choice, and prior actions may change the result. This guide therefore separates confirmed store facts from practical strategy and community observations.
Failure diagnosis
Why your walkthrough attempt keeps failing
Classify the failure before restarting. The visible death is often caused by a decision one or two days earlier.
| Failure signal | Likely earlier mistake | Next-run correction |
|---|---|---|
| Hunger or no food | Fishing and food were delayed until the reserve was empty | Create a food buffer on Days 1-3 and fish before the emergency |
| Boat or weather damage | A repair category was missing or spent on a minor problem | Carry one maintenance answer and reserve it for a clear threat |
| Night event death | Inventory had many story items but no broad counters | Leave evacuation with light, utility, and defensive coverage |
| No rescue progress | Signal tools were consumed or the run kept chasing optional events | Protect rescue resources and use a separate run for experiments |
| Companion collapse | Food, dialogue, or care was treated as an afterthought | Check companion needs before the final daily action |
Crew and the cat
Choose one shipmate, then keep the experiment clean
The official description confirms three shipmates, while community documentation also tracks Captain Whiskers as a passenger-style character. For a first survival clear, select the companion whose needs you can consistently support and keep that choice fixed while learning the day loop. A different companion can change dialogue, pressure, and route evidence, so changing companions every run hides cause and effect.
The search question about what the cat does is too narrow for a separate page at current demand. Treat the cat as a supporting variable: record when Captain Whiskers appears, any visible passive effect, and the state of the run before and after. Community claims are useful leads, not official proof.
Rescue, endings, and when this walkthrough stops
This walkthrough ends at a stable rescue attempt. It does not merge every death, companion route, achievement, and true-ending hypothesis into one page. Once you can reach the late phase with food, boat condition, and signal resources intact, record the final condition and move to a dedicated ending test.
Keep the keyword boundary clear: use this page for the chronological survival route; use the endings guide for route families, failure-state comparison, and spoiler-marked ending research. That separation makes both pages more useful and reduces contradictory advice.
FAQ
Don't Sleep With The Fishes walkthrough FAQ
Is there one fixed day-by-day walkthrough?
No. The official store copy describes randomized scavenging and events, so the exact order changes. Use the phase objectives and stop rules instead of expecting the same event every day.
What should I grab first during evacuation?
Prioritize a balanced set: food, fishing support, repair or utility gear, a light or night-event answer, and a plausible signal item. Return to the boat before the timer turns one extra item into a lost run.
How do I get rescued?
Preserve plausible signaling resources, maintain food and boat condition, and avoid spending late-game tools on optional experiments. Exact ending conditions may involve additional state, so use the endings guide for route testing.
What does the cat do?
Community documentation describes Captain Whiskers as a passenger with a small passive role. Record the visible effect in your own run because passenger, companion, and event state may interact.
Which companion is best for a beginner?
There is no verified universal best choice. Pick one companion, support their needs, and repeat with a stable inventory plan. Consistency teaches more than changing every variable at once.
Should I follow an all-endings video on my first run?
A video can reveal examples but also removes discovery and may show a different random order. First learn the survival loop, then use spoiler material to test a specific ending.
Verification
Sources and evidence boundary
Checked on August 8, 2026. Store pages verify the game format and platform facts; community material is labeled separately because route claims can change or require reproduction.
- Steam — official Windows release page, June 26, 2026 release date, randomized scavenging/events, three shipmates
- itch.io - developer page; checked August 8, 2026 with visible Windows 1.1.4.3 files, ZIP 218 MB and RAR 200 MB
- Unofficial community events reference — used only as a lead for event and character research